Adding Custom Keys to VM Instance on GCP
Whether you are a linux kernel module developer or just a simple user of those modules, it might happen to you that certain modules will not load on your environment. Specifically, when your environment or machine has secure boot enabled. When this happens, only signed kernel modules can be loaded. In order for these modules to be succesfully loaded, 2 conditions must be satisfied:
- The custom key needs to be properly added to the list of authorized keys to be booted on the system.
- The kernel module needs to be signed by the corresponding key in order to be succesfully loaded.
This guide specifically deals with only first point on Google Public Cloud Platform. The prerequisities to follow this guide are as follows:
- You have an existing UEFI VM with secure boot enabled somewhere on GCP, where you would like to install a new key.
- You have Google Cloud CLI installed on your PC. The following guide also uses specifically arbitrary Linux installation to prepare the necessary files and keys (It can be a secondary Linux PC, WSL on Windows or VirtualBox – Based Linux Distribution of your choice). I was specifically using WSL OpenSUSE 15.6 LEAP, but its mostly irrelevant.
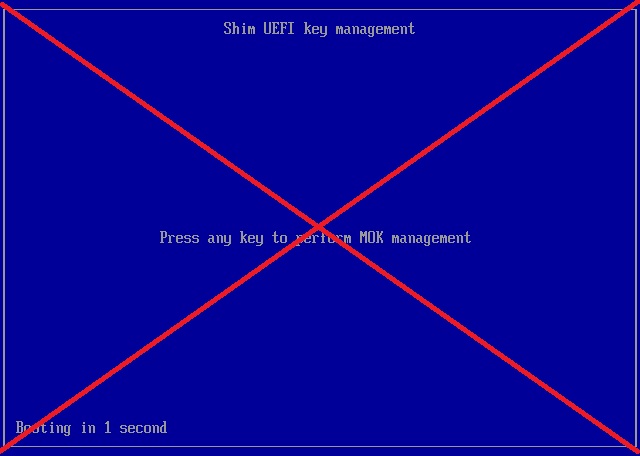
Note: Using MOK manager is not possible in the GCP platfrom as of 07/2025. IE. Any interactive attempts to enroll the keys during boot will fail even if you enable the serial console on your VM. Don’t bother with that as you will just waste your time.

Download necessary default Microsoft certificates:
Create New Unique ID:
- uuidgen –random > GUID.txt
Generate New Session Key:
- openssl genrsa -out IrisKEK.rsa 2048
- openssl req -new -x509 -sha256 -subj “/CN=Iris Exchange Key” -key IrisKEK.rsa -out IrisKEK.pem
Generate your own Private Key:
- openssl req -quiet -newkey rsa:4096 -nodes -keyout IrisSignature.key -new -x509 -sha256 -days 3650 -subj “/CN=Iris Signature Database Key/” –outform DER -out IrisSignature.cer
Convert keys to PEM format:
- openssl x509 -in MicWinProPCA2011_2011-10-19.crt –inform DER -out MicWinProPCA2011_2011-10-19.pem –outform PEM
- openssl x509 -in MicCorUEFCA2011_2011-06-27.crt –inform DER -out MicCorUEFCA2011_2011-06-27.pem –outform PEM
- openssl x509 -in IrisSignature.cer -inform DER -out IrisSignature.pem -outform PEM
Convert to EFI Signature List:
- cert-to-efi-sig-list -g GUID.txt MicWinProPCA2011_2011-10-19.pem EFI_Key_0.esl
- cert-to-efi-sig-list -g GUID.txt MicCorUEFCA2011_2011-06-27.pem EFI_Key_1.esl
- cert-to-efi-sig-list -g GUID.txt IrisSignature.pem IrisSignature.esl
Concatenate keys:
- cat EFI_Key_0.esl EFI_Key_1.esl IrisSignature.esl > CombinedSignaturekey.esl
Sign the Key List:
- sign-efi-sig-list -t “$(date –date=’1 second’ +’%Y-%m-%d %H:%M:%S’)” -k IrisKEK.rsa -c IrisKEK.pem db CombinedSignaturekey.esl CombinedSignaturekey.bin
–> Timestamp is 2025-7-19 12:21:07
–> Authentication Payload size 4556
–> Signature of size 1193
–> Signature at: 40
Next, launch your GCLI. I have a default location and project configured, so that those options are by default ommited. Also, lets assume that the following existing disk image is available: “gcp-secure-test“. I have used Ubuntu 24.04 LTS public GCP image to create the HDD. Now we create a new custom image with the keys we generated previously:
- gcloud compute images create gcp-secure-test-img –source-disk gcp-secure-test –signature-database-file=CombinedSignaturekey.bin
Once the Image, is created, it is IMPORTANT to note, that those keys are actually installed whnever a new VM is created! Not when a new HDD is created. So you need to make sure to create a new VM (Then possibly detach the disk and delete the newly created VM). I have followed the google cloud web console to create the new VM from the generated Image.
Next we can double check that those keys are installed. Launch the VM amd check the keyring:
- sudo keyctl list %:.platform
Microsoft Windows Production PCA 2011 : a92902398e16c49778cd90f99e4f9ae17c55af53
Canonical Ltd. Master Certificate Authority : ad91990bc22ab1f517048c23b6655a268e345a63
Iris Signature Database Key : dfd433beffd0b60ffc25e72c4bef6e339de06c13
Microsoft Corporation UEFI CA 2011 : 13adbf4309bd82709c8cd54f316ed522988a1bd4
Your are now free to use the generated private key to sign the necessary kernel modules. Follow the official guidelines at the kernel documentation HERE to do so. For more information on UEFI, Keys and other cloud platforms, feel free to reach out to the following sites:
Additional tips for GCP:
- List available snapshots: “gcloud compute snapshots list”
- List available disks: “gcloud compute disks list”
- List Available Images: “gcloud compute images list”
Check SHA1 Fingerprint of a certificate:
- openssl x509 -in MicCorUEFCA2011_2011-06-27.crt -noout -fingerprint -sha1
–> sha1 Fingerprint=46:DE:F6:3B:5C:E6:1C:F8:BA:0D:E2:E6:63:9C:10:19:D0:ED:14:F3
Check Subject Key Identifier (Output of keyctl list …):
- openssl x509 -in MicCorUEFCA2011_2011-06-27.pem -noout -text | grep -i “X509v3 Subject” -A 1
–> X509v3 Subject Key Identifier:
–> 13:AD:BF:43:09:BD:82:70:9C:8C:D5:4F:31:6E:D5:22:98:8A:1B:D4
